 |
| Add caption |

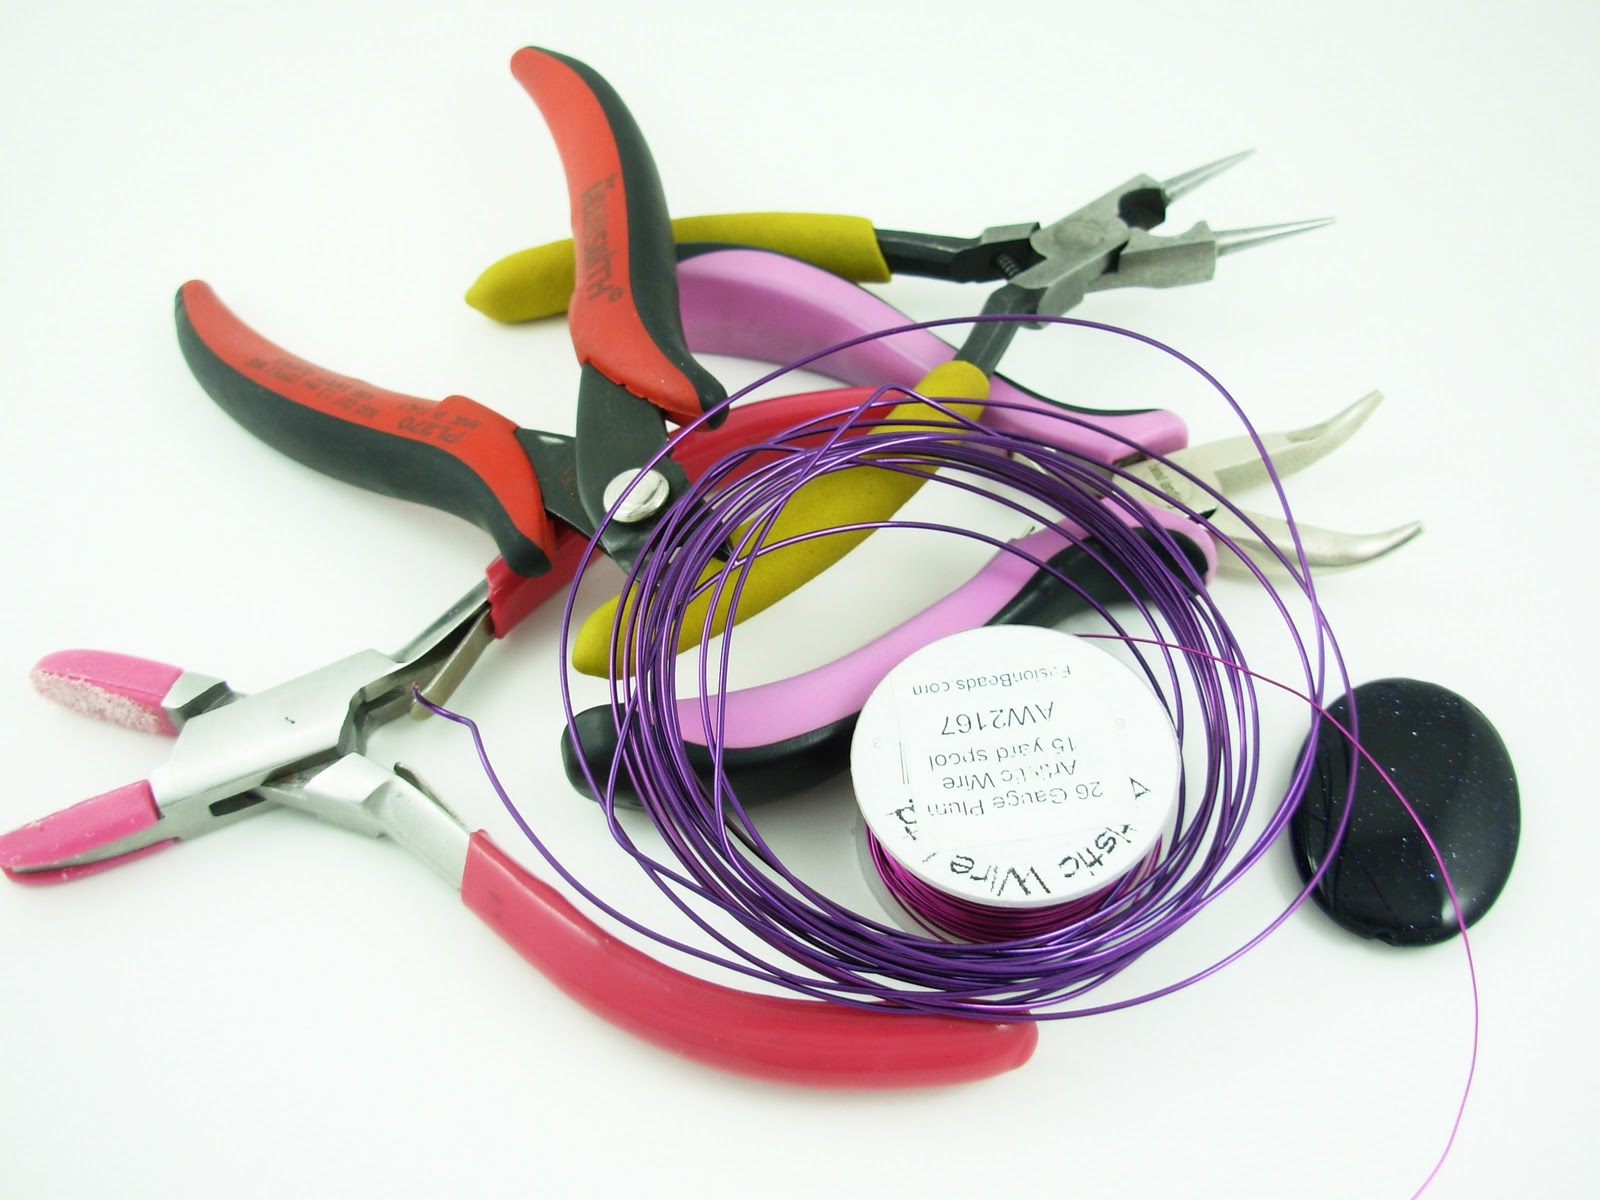
I use 20 gauge and 26 gauge wire here.
Wrap 26 gauge wire around the three support wires. The three wires need to stay flat and parallel. You can use blue painter's tape on either side of where you intend to wrap to hold the wires in place. Trim off the ends ensuring that they are both on the same side of the main support wires. Tap down the ends with your soft jaw pliers.
Now you may begin to form the wires around the cabochon or focal bead. This is an initial general shaping.
Holding the first bind in place with your soft jaw pliers, bend the front outside wire to angle against the bind.
Then repeat on the other side of the same wire
Bend the same wire back toward the outside and repeat on the other side of the same wire. This wire will be the support for the front side of your frame.
Repeat the same steps with the opposite wire. This will be the support for the back side of your frame.
The center wire will follow the perimeter of the stone and be the contact point for where the front and back wires will be joined together, holding in the stone.
Now is a great time to slip the stone in the frame and adjust fit.
You'll need to make a secondary bind on either side to hold the stone in place.
You will find that it is a little more challenging to keep the frame wires side by side and flat. You can use painter's tape to hold the wires in place. It is always helpful to tap the wires flat with the soft jaw pliers. This will flatten the wires in the bind.
Trim the ends on the inside of the frame. That way they will be hidden and won't catch on clothing when finished.
You may find it easier to make the bind further from the bottom and then slide it into place.
Then it is time to check and adjust the fit again.
Next, bend the outer wires apart that will form the upper half of the frame.
Since these wires will end up bracing the stone, I bend them at a 45 degree angle, rather than straight out.
Then bend wires up toward what will be the top of the stone.
Check the fit and make adjustments.
If you are overzealous when you are trying to get a tight fit on the stone, you can bend or kink the wire.
Take the time to carefully straighten each wire using the soft jaw pliers. It is worth taking the time to fix the problem while you have the chance to do it without the stone in.
This is an awkward part. Bend the wires over the top of the stone and then angle up where the wires pass over the center of the top of the stone. Then repeat on the other side.
You may want to tidy up your binds. Do this with care. As you can see, I chose to do this with my bent nose pliers and ended up scraping the color off when I squeezed too hard. Try instead using a tooth pick or your fingernail which won't result is poor craftsmanship.
At this point, it's not too late. Unwrap the damaged wire and replace it with new. Take the time. Have standards.
When you get the fit you like, tie off the frame wires with 26 gauge wire.
I can see already that I have made the binds uneven. The left one is lower than the right. So, I will have to use other tactics to balance this design.
Spread the wires in preparation for making the bail. I am choosing to make a bail with four wires. But, you can choose any number from one to six. You will have to continually tighten the tie. I try to keep the wires that went around the stone on the right, to the right side of the bail and the left to the left.
Make a bend toward the front of the stone 45 degrees, more or less, with the wires you have chosen to use for the bail.
Then, find something like a dowel or an ink pen to for the wires evenly around. I had a dop stick laying on my table, so that's what I used.
Make a bend outward where the wires align with the top of the stone. This will make tying the bail off easier.
Twist the wire, and then trim to about a quarter inch.
Note, if you twist it too tight, the wire will snap. If this happens, the tie is compromised and must be removed and replaced.
You may find it helpful to put the dowel back in the bail to stabilize the cage while you replace the tie.
As it turns out, the second time binding the tie turns out better.
I decided to add some beads to bring out the magenta wire. Beads are a great way to hide an untidy mess, should that occur.
With the extra wire from tying off the bail, I chose to wrap one of the free wires. My plan is to try to balance the fact that one bind is lower than the other and there is a gap in the binding on the right. What you do with the design can hide some missteps in the earlier planning.
Testing out what I might do with the decorative wire so that I know when to stop wrapping it.
This design element instantly balances the mismatched side binds.
I decide to anchor the decorative element on the back. I trim the wire on the stone side so it won't snag clothing.
The other end of the tie wire, I just wrap around one of the back wires and trim off toward the stone.
Making a nice spiral.
This curly cue will have to be tapped down with the soft jaw pliers.
You can see from the front that the design is now balanced. However, there is a bit of light coming through at the bottom where that hole was drilled.
I like the design and don't want to do much more. So, it is safe to trim off a couple wires.
I leave one wire uncut until I am sure that the wire I am planning to fill the hole with is going to work.
Wire through with no damage, so I am free to trim the remaining wire.
I curl the trimmed ends so there are now edges or ends sticking out to snag on clothing.
Finished! YAY!
I wrote this so that the folks who really need lots of pictures and explanation will have the help they need. This is not intended to teach this design. It was intended to teach the concept and help deal with problems that come up as we make things. I hope this will help many.
Cheers...


AWESOME!!! Great job!! Best I've seen so far...:) I think I have it...will play as soon as I receive my stones :) YIPPEE I can finally understand the concept !!!!!!!!!!!!!! :)
ReplyDelete^T^
Dawn,
ReplyDeleteThanks for the wonderful tutorial! Wrapping smooth stones is one thing that still intimidates me -- maybe it won't now. :)
Great tutorial! It's so detailed!
ReplyDeleteAawesome! thank you for sharing your talents.
ReplyDeleteWonderful Tutorial Dawn!! Really removes the intimidation factor and replaces it with hopeful encouragement! One more thing I will add to my artistic 'to do' list... :)
ReplyDeleteThank you so much, everyone, for your feedback. I hope this will help all of you to see all of the easy fixes along the way. It is mostly a problem solving game. And, if you can learn to do that, you can make a nice piece.
ReplyDeleteCheers, Dawn
Great detailed post Dawn. It will help many, including me:)) Thank you!
ReplyDeleteWow! No words to describe the talent you have!
ReplyDeletelovely!
ReplyDeleteI appreciate the time and effort you took to share this beauty.
ReplyDeleteOh Wow, what an amazing amount of work you did to share this information. Love how you help with all the problem solving along the road to creating a lovely piece. Thank you so much!!
ReplyDeleteThis is absolutely lovely! I will have to try my hand at wire wrapping now!
ReplyDeleteFicou lindo, quem me dera ter jeito para fazer, parabéns. ;)
ReplyDeleteThats awesome, and very hard work .
ReplyDelete❤ Thanx for this Dawn, Shared in SRAJD and Wire Wrappers on FB. =) Mx
ReplyDelete❤ Thanx for this Dawn, Shared in SRAJD and Wire Wrappers on FB. =) Mx
ReplyDeleteNice little Tut. Good explanations and I think it achieved very well you intention.
ReplyDeleteas someone who struggles with just written descriptions, i thought this was sheer genius. thanks for including so many pictures :) the end product is fabulous and i don't feel quite so scared to try more wire wrapping
ReplyDeleteGreat step by step description. I didn't even read any text. I was drawn in by the images. Cool looking pendant,too. ;-)
ReplyDeleteGreat step by step description. I didn't even read any text. I was drawn in by the images. Cool looking pendant,too. ;-)
ReplyDeleteGreat step by step description. I didn't even read any text. I was drawn in by the images. Cool looking pendant,too. ;-)
ReplyDeleteGreat step by step description. I didn't even read any text. I was drawn in by the images. Cool looking pendant,too. ;-)
ReplyDeleteI love the tutorial & might not be as intimidated anymore as I once was w/wire wrapping a cabochon! Thank you! :-)
ReplyDeleteThe colors w/the black were beautiful & striking! There are no mistakes, just happy accidents! That spiral added that something special! Thanks again!
I love the tutorial & might not be as intimidated anymore as I once was w/wire wrapping a cabochon! Thank you! :-)
ReplyDeleteThe colors w/the black were beautiful & striking! There are no mistakes, just happy accidents! That spiral added that something special! Thanks again!
Thank you so much this is the best I've seen. There was also a couple of bits I seemed to struggle with and this had cleared that up perfectly.
ReplyDeleteI'm not sure yet if you have more tuts or doing more but I hope so. Your so clear and the clear step by step extra photos really helped.
(I'm off to have a look around rest of your blog now)
Much Appreciated
Kellyanne
My!!! I had no idea this type of work existed! I watched each photo, rapt with anticipation. Thanks!
ReplyDeleteDawn, this makes it looks so much easier than I anticipated and a great tutorial for a novice like me!
ReplyDeleteLike Saturday Sequins I was totally intimidated with the idea of wrapping a cab but your tutorial has taken that fear away!
Thank you! xxx
Dawn, this makes it looks so much easier than I anticipated and a great tutorial for a novice like me!
ReplyDeleteLike Saturday Sequins I was totally intimidated with the idea of wrapping a cab but your tutorial has taken that fear away!
Thank you! xxx
hi, I just wanted to let you know that I borrowed a few of your pictures to teach a class on cabochon wrapping, and Making sure to give you full credit for the photographs. I hope you don't mind, and I apologize that I didn't ask before I did it. I want to thank you for your tutorial, it has helped me immensely. I hope you do more of them, and overly detailed account, is a perfect way to do it. Thanks so much.
ReplyDeletethanks Dawn, for such a clear tutorial. I've had a design in mind for a while now, but not been able to work out the best way to achieve it. You've just solved my problem!
ReplyDeleteThanks a lot for sharing such an amazing post. It is very informative and I am sure a lot of people will benefit from it. Good job!
ReplyDeleteLeathergrain Covers
Fabulous post!! I've never done anything with a cabochon and didn't know where to start so this has given me some ideas!!! Thank you so much!!!
ReplyDeleteThis is a great post. Thanks a lot for sharing this amazing information.
ReplyDeleteWire Binds
Thanks a lot for sharing such an amazing post. It is very informative and I am sure a lot of people will benefit from it. Good job!
ReplyDeleteWire Binds
Thank you for posting so many pics with this great tutorial-it's really lovely & ready took follow, can't wait to try it with a labradorite cabochon I scored!
ReplyDelete